Creating Elements in the PI System Explorer
To create a new element:
- Open the System Explorer window.
- In the navigation pane, click on Elements.
- Use one of the following methods to create a new element.
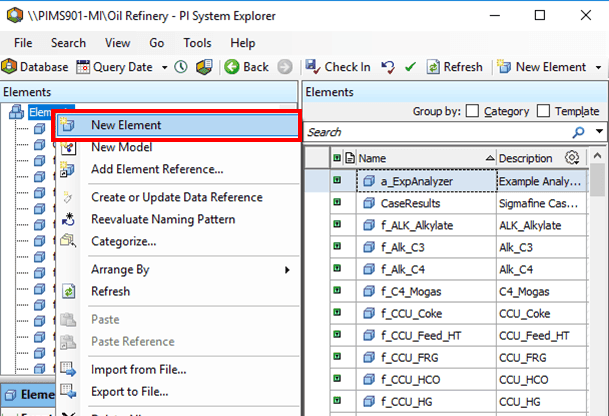
In the Elements tree view, right-click on Elements and select New Element from the pop-up menu.
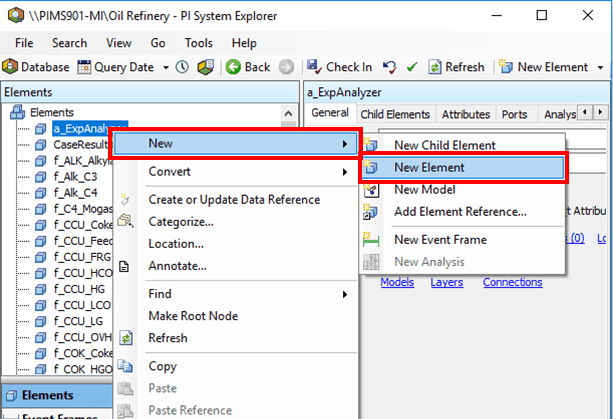
In the Elements tree view, right-click on any one of the elements and select New > New Element from the pop-up menu.
Click on the New Element button on the toolbar.
The Choose Element Template window opens.
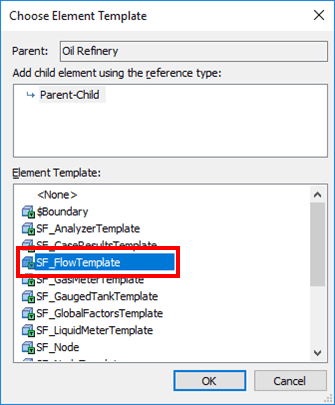

In the Element Template pane, select the template you want to use.
Click OK.
The template you selected is opened in the System Explorer right pane.
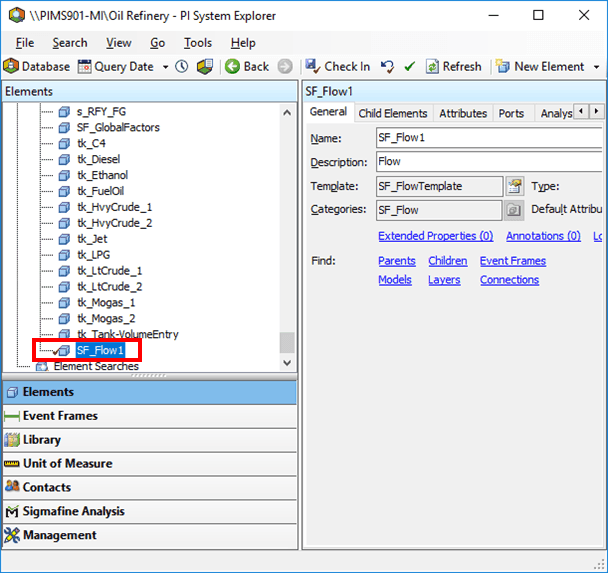
Click on the General tab (if not already open).
In the Name box, type a name for the new element.
Click on the Attributes tab to access the Attributes pane.
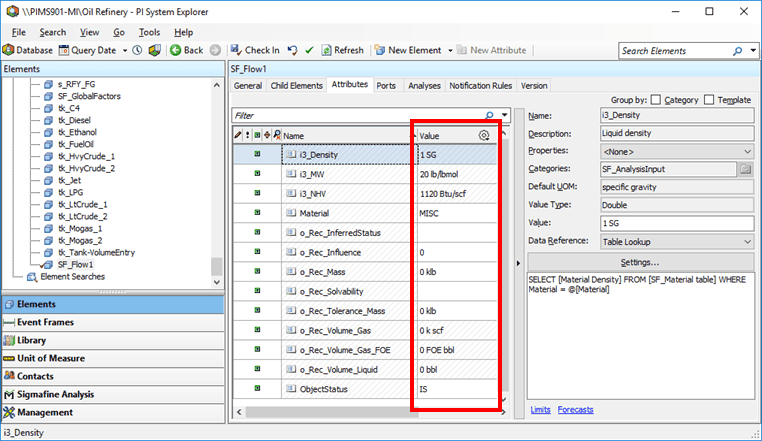
Do one of the following:
For Attributes that are not using a data reference, enter a static value in the Value column.
The units of measure for the value as well as the value data type (integer, floating point, string, etc.) have been configured for the Attribute as part of the template.
For Attributes using a data reference, see found under Data Reference.
Note also that you can configure a data reference as the default within the Element template.
Note: New Elements can be created in numerous ways from the tree view. To understand where the new Element was created, always check the location of the element. If it is located only under a specific Model and does not exist in the main Element list, then it was a Child Element. If the Element is existing in the main Element list then it was created correctly so it is accessible globally to be added to multiple Models if needed.